
First DIY... The good , the bad , and yes the UGLY
I often troll Etsy.com and Pinterest when I can't sleep. Last night was one of those nights (sigh). I really loved the wooden signs with the family name and the established date on them that I found on Etsy. It screams grown up to me.. And while I fully understand I am in my 30's and have 3 children and a mini van I most of the time feel 15.
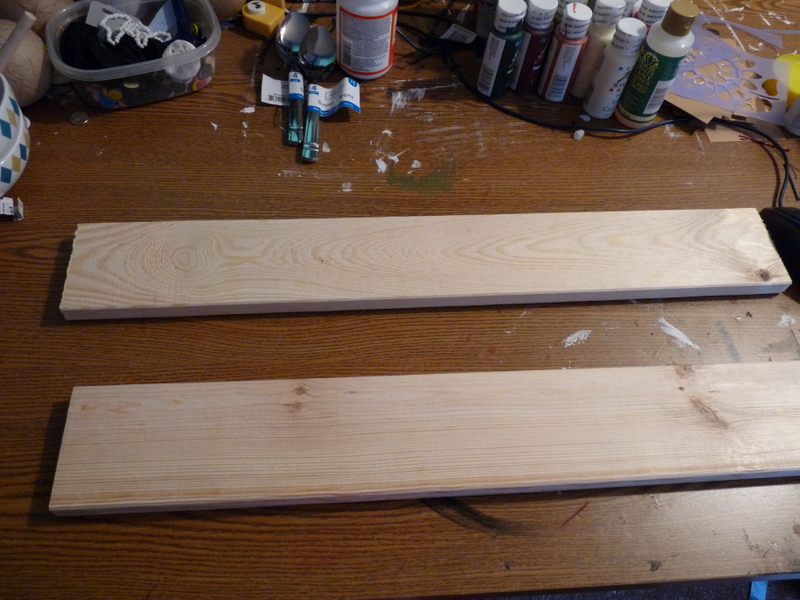
SO as I was strolling through Lowes today with Mr personality and an Idea hit me like a lightning bolt. I ... yes me... I could make one of those nifty signs myself , I mean how hard could it be really??? So I purchased the lumber and had it cut there . ( they will cut up to 20 cuts for you for free) ( a service I have abused many times)
I busted out my handy dandy acrylic paint , and my circut , and some elmers glue and got busy.

The first thing I did was to mix a gorgeous cream color with some elmers glue and paint the board with the mixture. ( My theory was that the glue would help adhere the letters to the board more securely so I could paint over them easier)(hahaha... just wait)

Second I cut out the letters and a nifty flower design.. If you don't have a handy dandy cutting machine... a stencil or free hand painting would do well .
Ok ... here is where I messed up the entire project... pay attention.... I was in a hurry and I painted the top coat of paint onto the wet mixture of glue , letters, and paint.... Those of you that are true crafters are running from my blog in horror right about now... aren't you?
ALWAYS WAIT FOR YOUR PAINT TO DRY BEFORE YOU DO A SECOND LAYER!!!!
That being said... it was a gooey slimy mess and I was too... I peeled the soggy letters off and thankfully was able to see where the letters should have been enough to paint with a tiny brush the cream color back on top of the now dry Blue.

I refused to end on a failure so I tried again....
This time I allowed the bottom layer of paint ( no glue) to dry completely and I painted over the dry pre cut letters very carefully one by one. It worked much better....
So for my first DIY blog I will admit failure... but than after a lesson learned success! You can do it too :) I kinda like how they came out... post me a picture of yours when you finish it! I can't wait to hear how it turns out!
Love,
Lilie


<a href="http://tipjunkie.com/" target="_blank"><img
src="http://www.tipjunkie.com/images/TipMeTuesdayButton1.png" alt="Tip
Junkie handmade projects" border="0"/></a>
<center><a href="http://notjustahousewife.net" target="blank"><img border="0" src="http://i492.photobucket.com/albums/rr283/StacyRisenmay/linkypartybutton-1.jpg"/></a></center>
No comments:
Post a Comment